There are two ways you can upload images to your project.
First, upload all your images on the Appearance > ‘Upload Images’ page.
- Click the 'Create' button then the 'Create' page opens. Click the 'Choose File' button to select a file from your computer then click the 'Create' button again to finish the process.
Once you have uploaded all your pictures here, these images will be available to you for access while you build your project.
The second method is to upload images as you go, and an upload button would be available in areas where you need pictures.
For example:
- The ‘Upload Logo’ button is found on the area where you can change your project’s logo

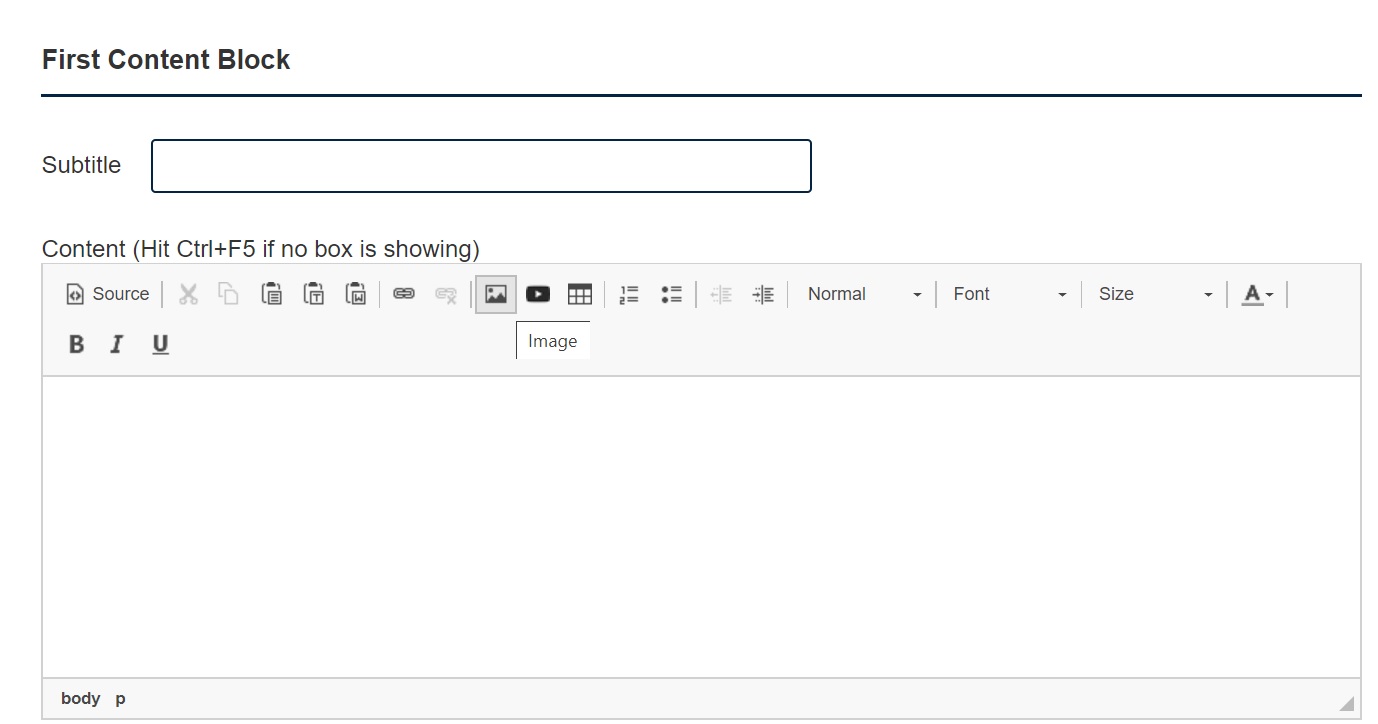
- An Image icon is available on the Content Box where you can upload your pictures.
Image size: should be between 900X350px and 900X500px. The best format is PNG or JPG.
To add the image using this, please follow the 4 steps:
- Click on the Image Icon in the content block
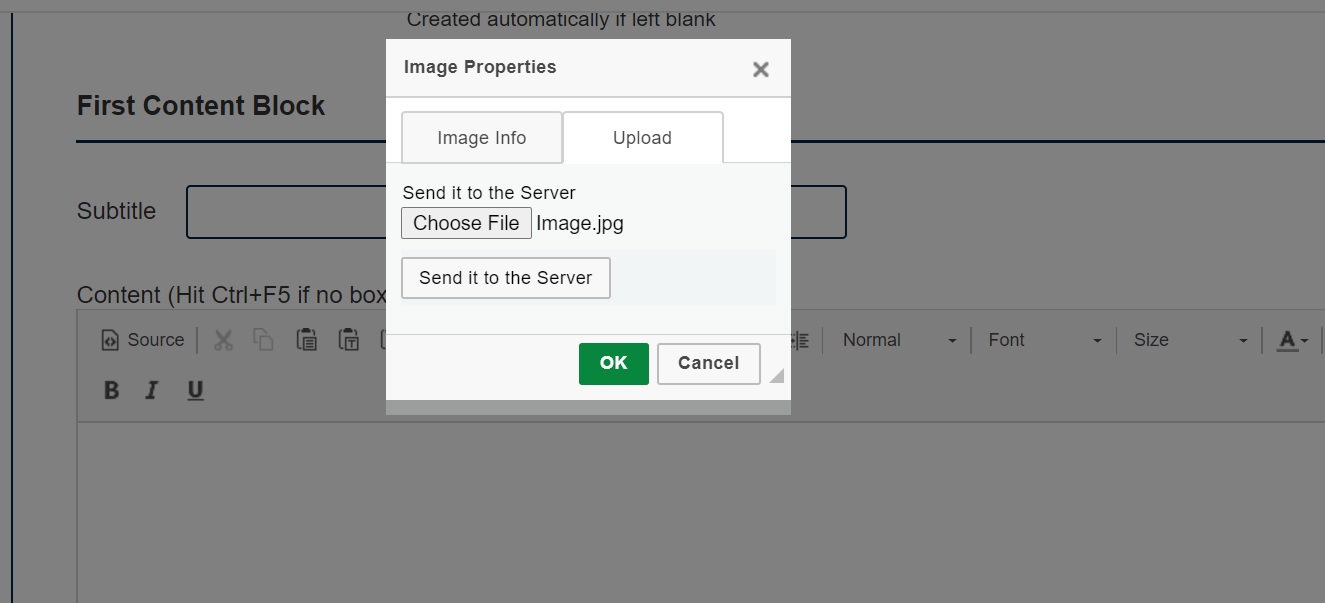
- Click on the “Upload” tab, “Choose File” and browse for the image you want to add, then hit on “Send it to the Server”
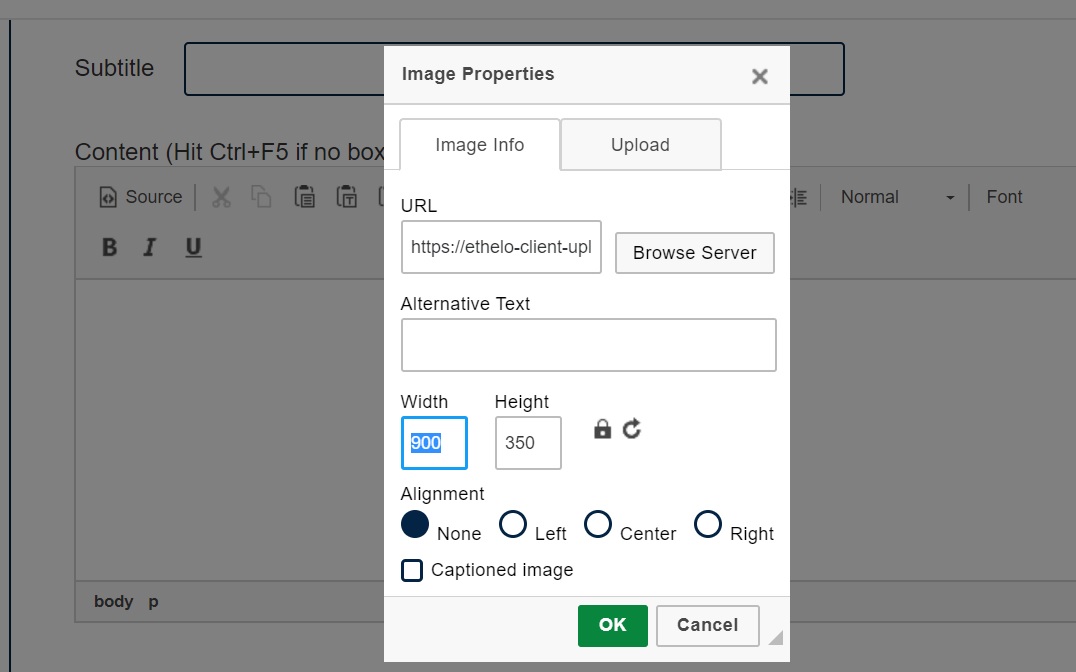
- If you would like your image to resize automatically based on the size of the browser window (recommended) then delete the values from the fields “Width” and “Height”, make sure you set the alignment to “None” and click on “OK”
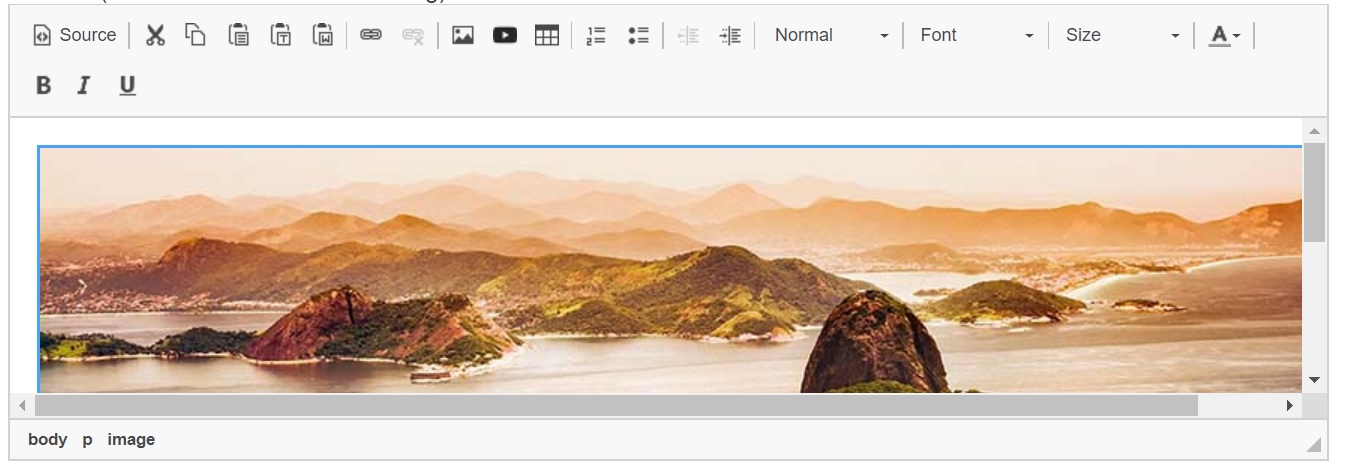
- Your Image will display in the content block as below:
- Make sure to click on “Save” or “Create” at the end of the page when you are done.
Hint: If you couldn’t upload the image and you received an error message like this

That means: you have uploaded an image earlier with the same name.To solve the error: Please edit the image name you want to upload and try again.